Getting started: your first week of teaching
The tools you use day to day: lessons, observations, the progress grid, office hours, incidents, the daily summary, photos, notices, and messaging.
Last updated Sep 26, 2026
This guide walks you through the tools you reach for most in your first week. Work through it in order, and stop and come back whenever you need to. Each step is a few minutes.
Everything here lives inside a classroom you are assigned to. Open Rooms in the top bar and click into your room to find these tools.
1. Add a lesson for today
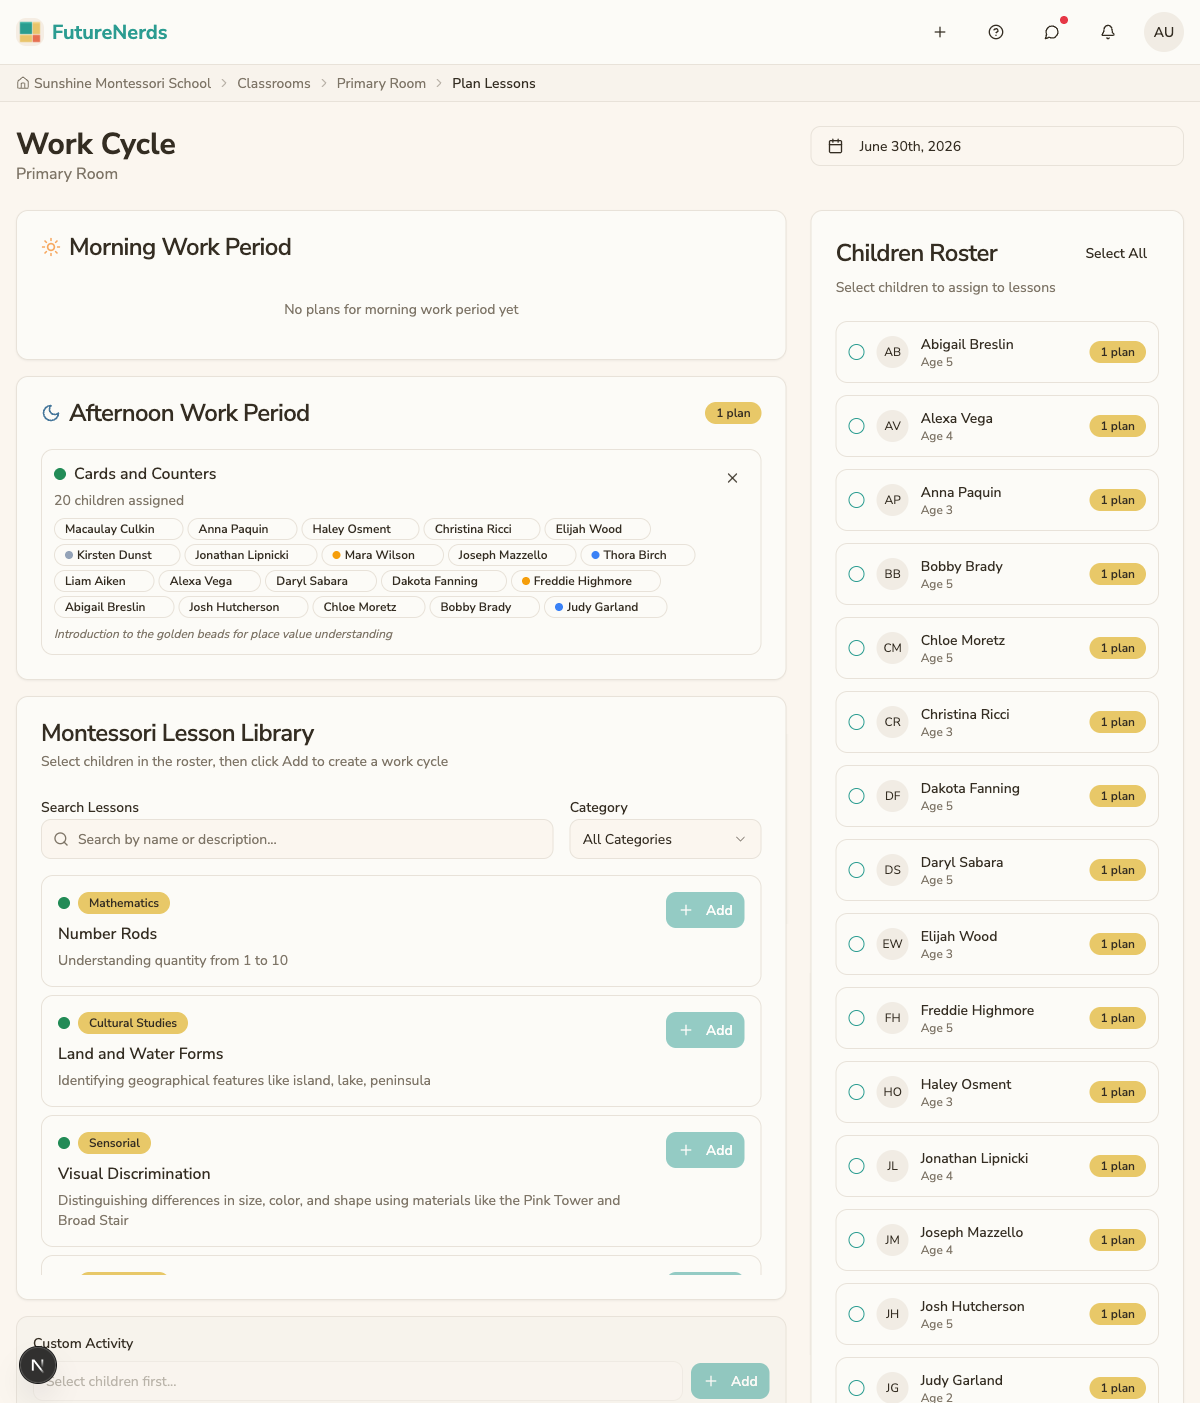
Open your classroom and, under Classroom Tools, click Plan Work Cycle. Today's shortcuts also say Plan Lessons. The page is titled Work Cycle: pick competencies from the Montessori Lesson Library, then assign them to the morning or afternoon work period.
This is not strictly what a Montessori guide does. You observe the child first, then follow their interest, and much of the day is unplanned by design. But when there are things you want to plan ahead and present, this is where that planning happens.
2. Record an observation about a child
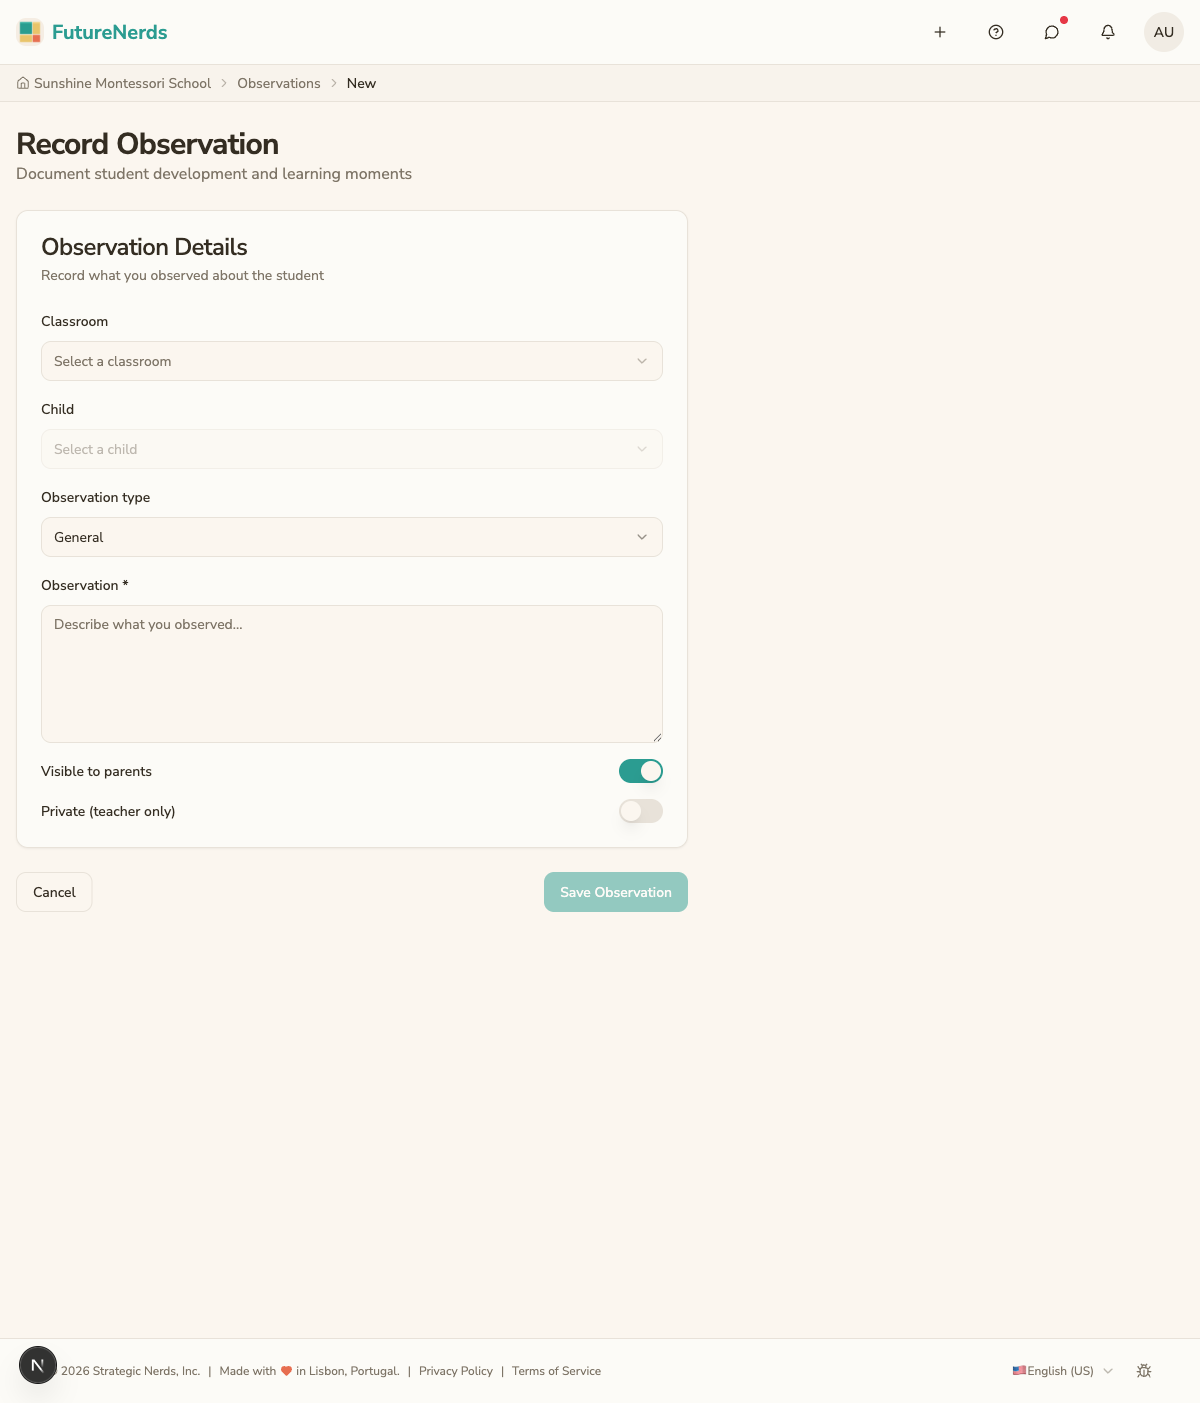
On the child's Learning tab, click Observation, write the note, and click Record Observation. Or use Classroom Tools → Record Observation, then Record observation. This is the running record of what each child is doing and learning.
You can also work from paper in the classroom. Print observation sheets ahead of time, carry them on a clipboard, and mark them by hand during the work cycle. Afterwards, enter the marks and check them on the Review tab.
3. See the whole class on the progress grid
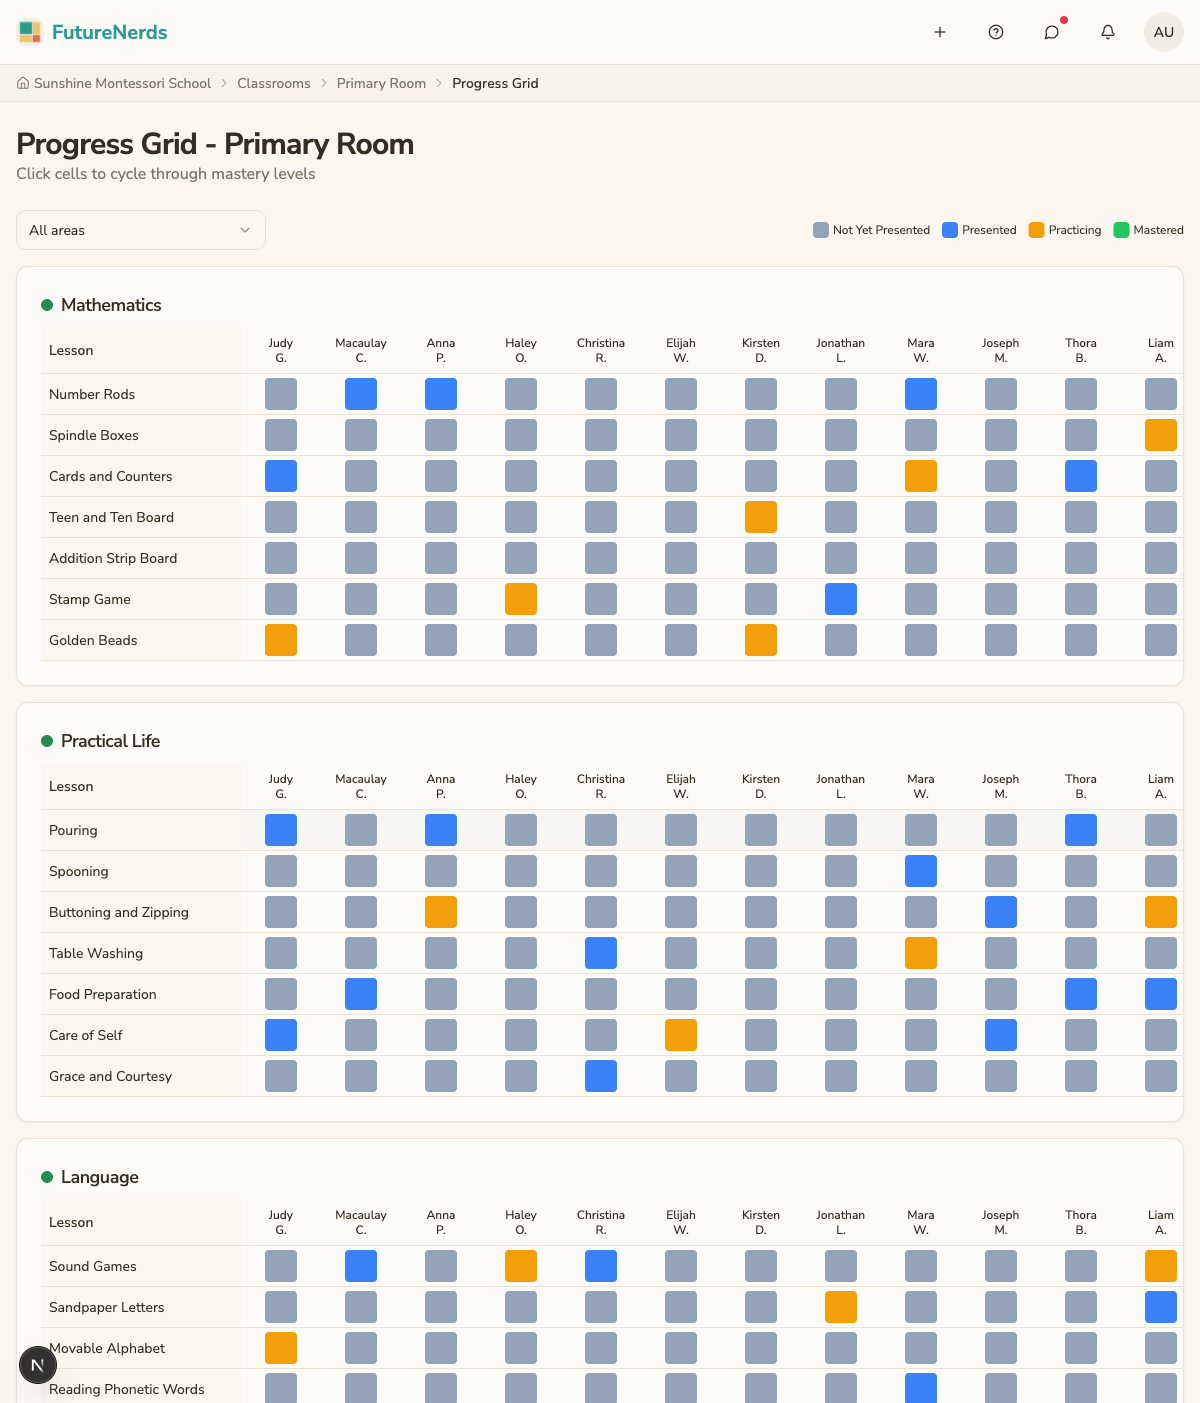
Open the Progress Grid to see every child against every competency in one view. Each cell shows where that child stands, from not yet presented through mastered.
Click a cell to update a child's mastery level. Scan the grid to spot who needs a new presentation and where the class as a whole is ready to move forward.
4. Set up office hours and meet with parents
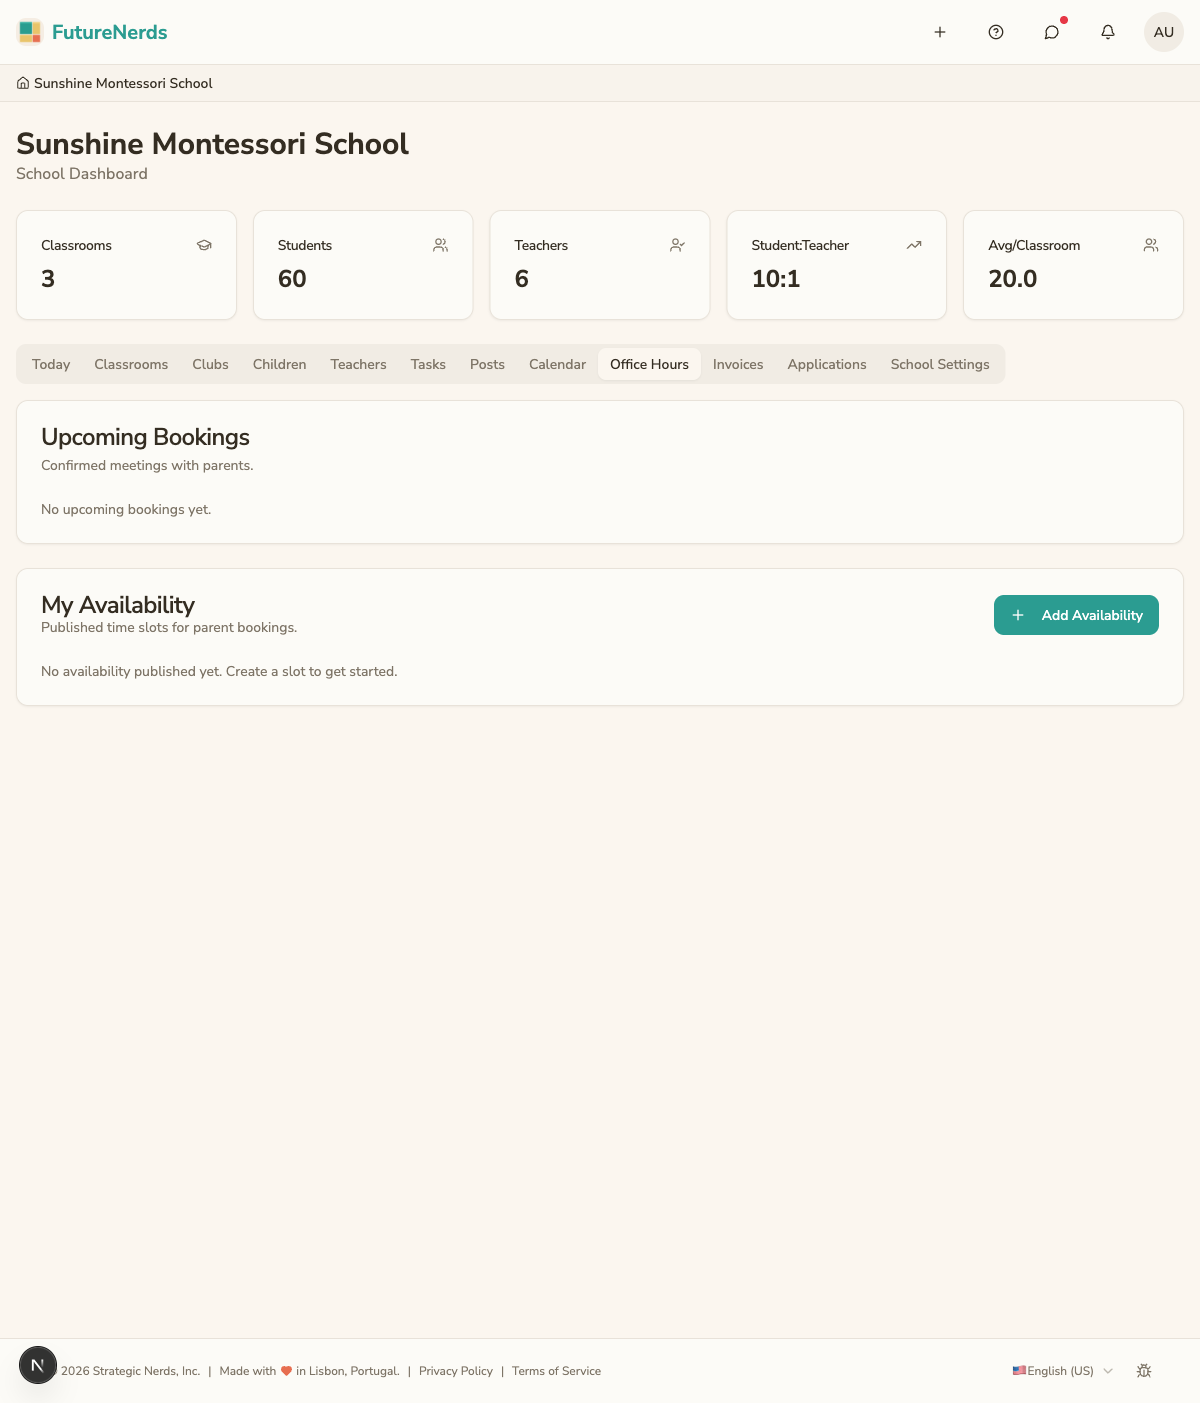
Office hours live on the Bookings page (not in the teacher top bar). Open it from a classroom bookings link. Click Set Office Hours Availability, fill in the slot, and click Create. Your administrator sets the default meeting length in School Settings under Meetings and Office Hours. Parents book from Bookings in their top bar.
You see Upcoming Bookings and My Availability on that same Office Hours tab. The other tabs are Classroom Observation, Field Trips, and Volunteer Opportunities.
5. File an incident report
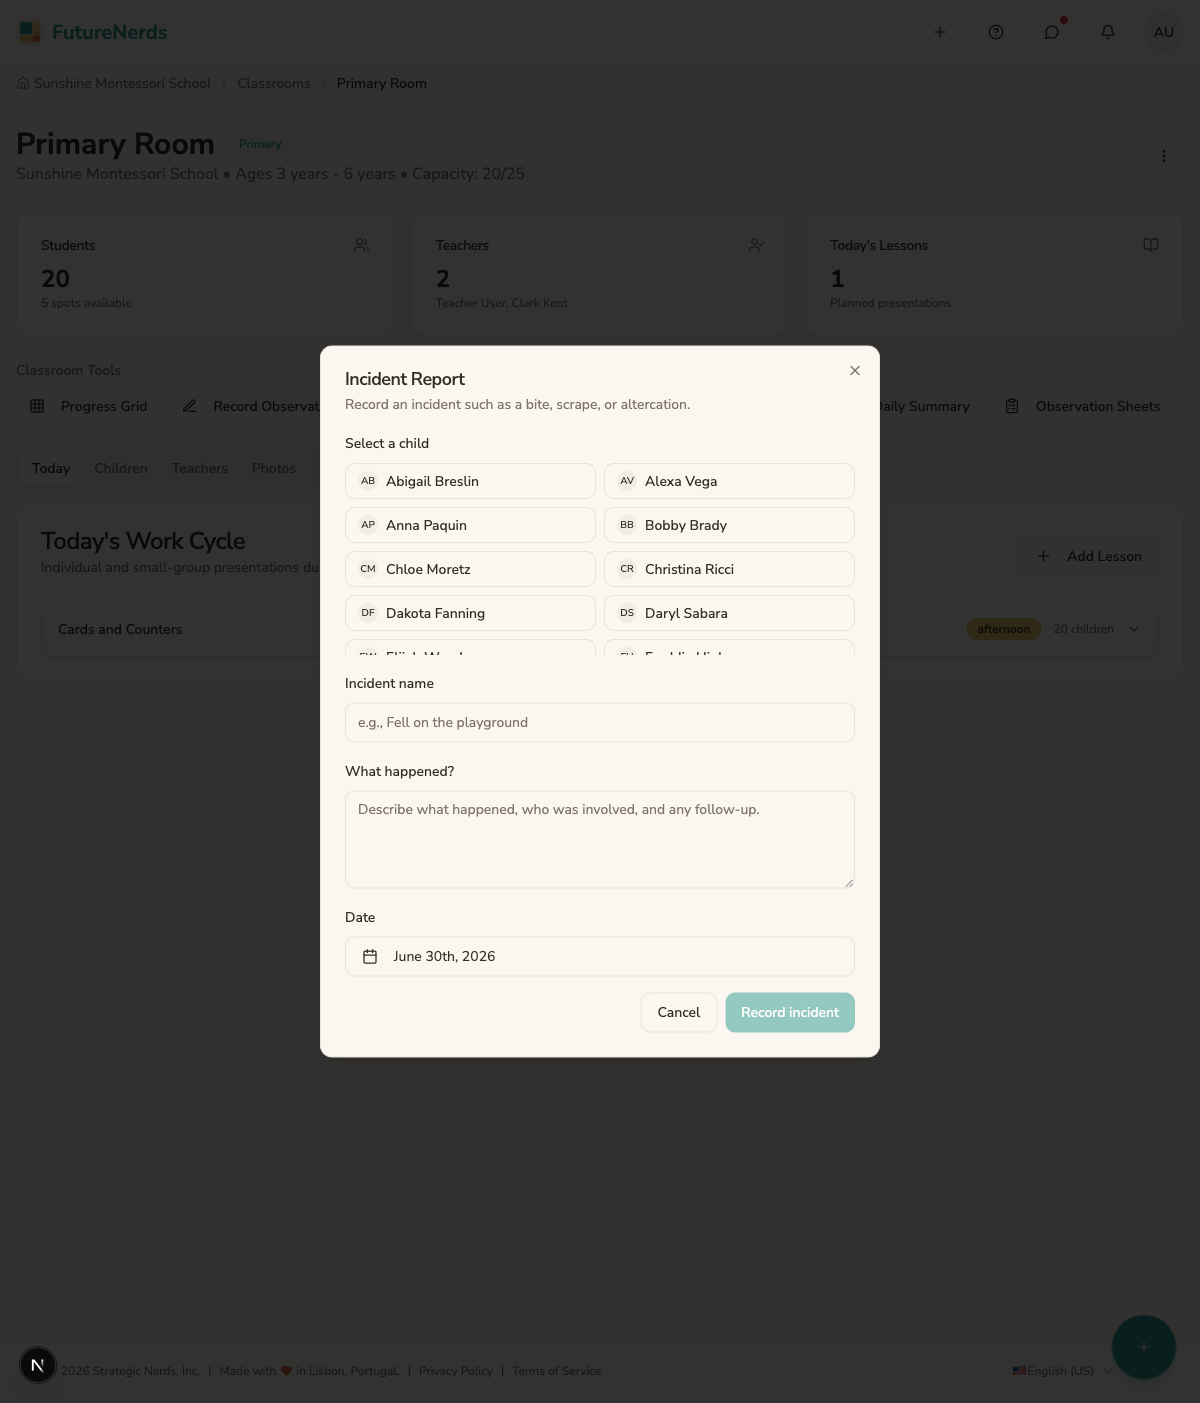
Record an incident when something happens that needs to be on file: a scraped knee, a tumble, a conflict between children. Open Classroom Tools and click Incident Report (Today's shortcuts include the same button). Recent incidents also appear on the child's School Day tab. There is no Records tab.
Write what happened and any follow-up. Incident reports are for staff only, so parents do not see them.
6. Write the day's summary
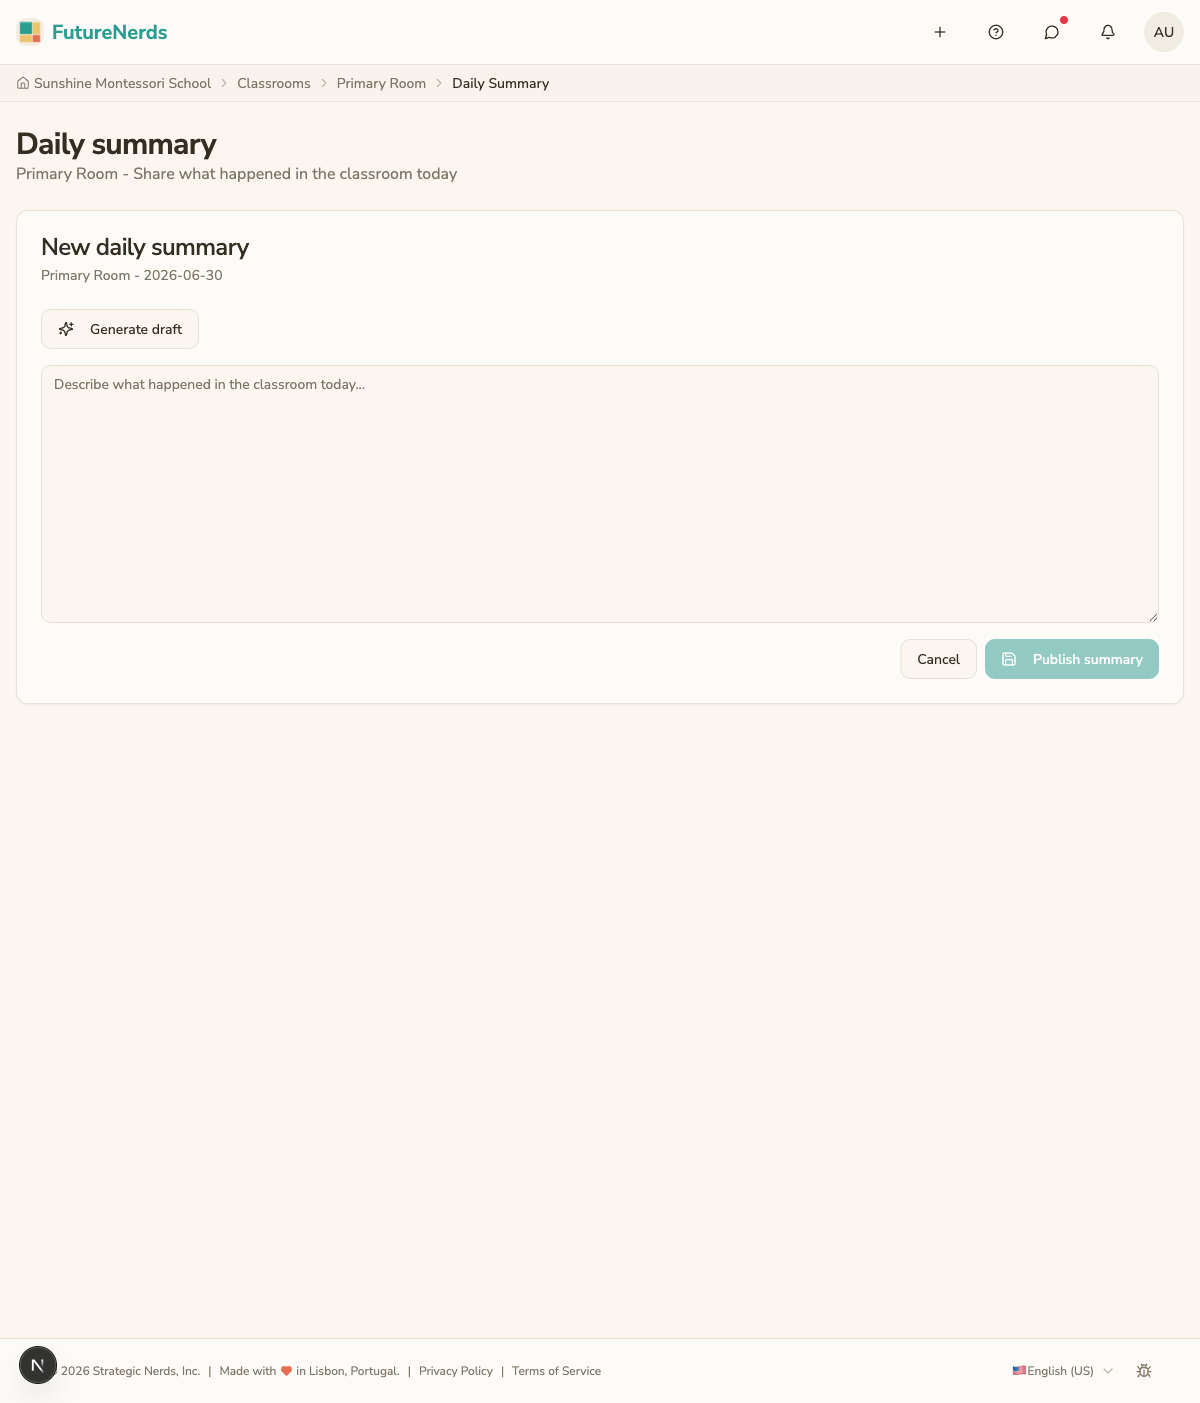
Open your classroom and click Daily Summary to write a short narrative of the day: what was presented, who showed notable progress, anything to follow up on tomorrow.
This summary is automatically included in the daily digest that is emailed to parents at the end of each day. Write it before that delivery time so it makes the email.
7. Upload photos
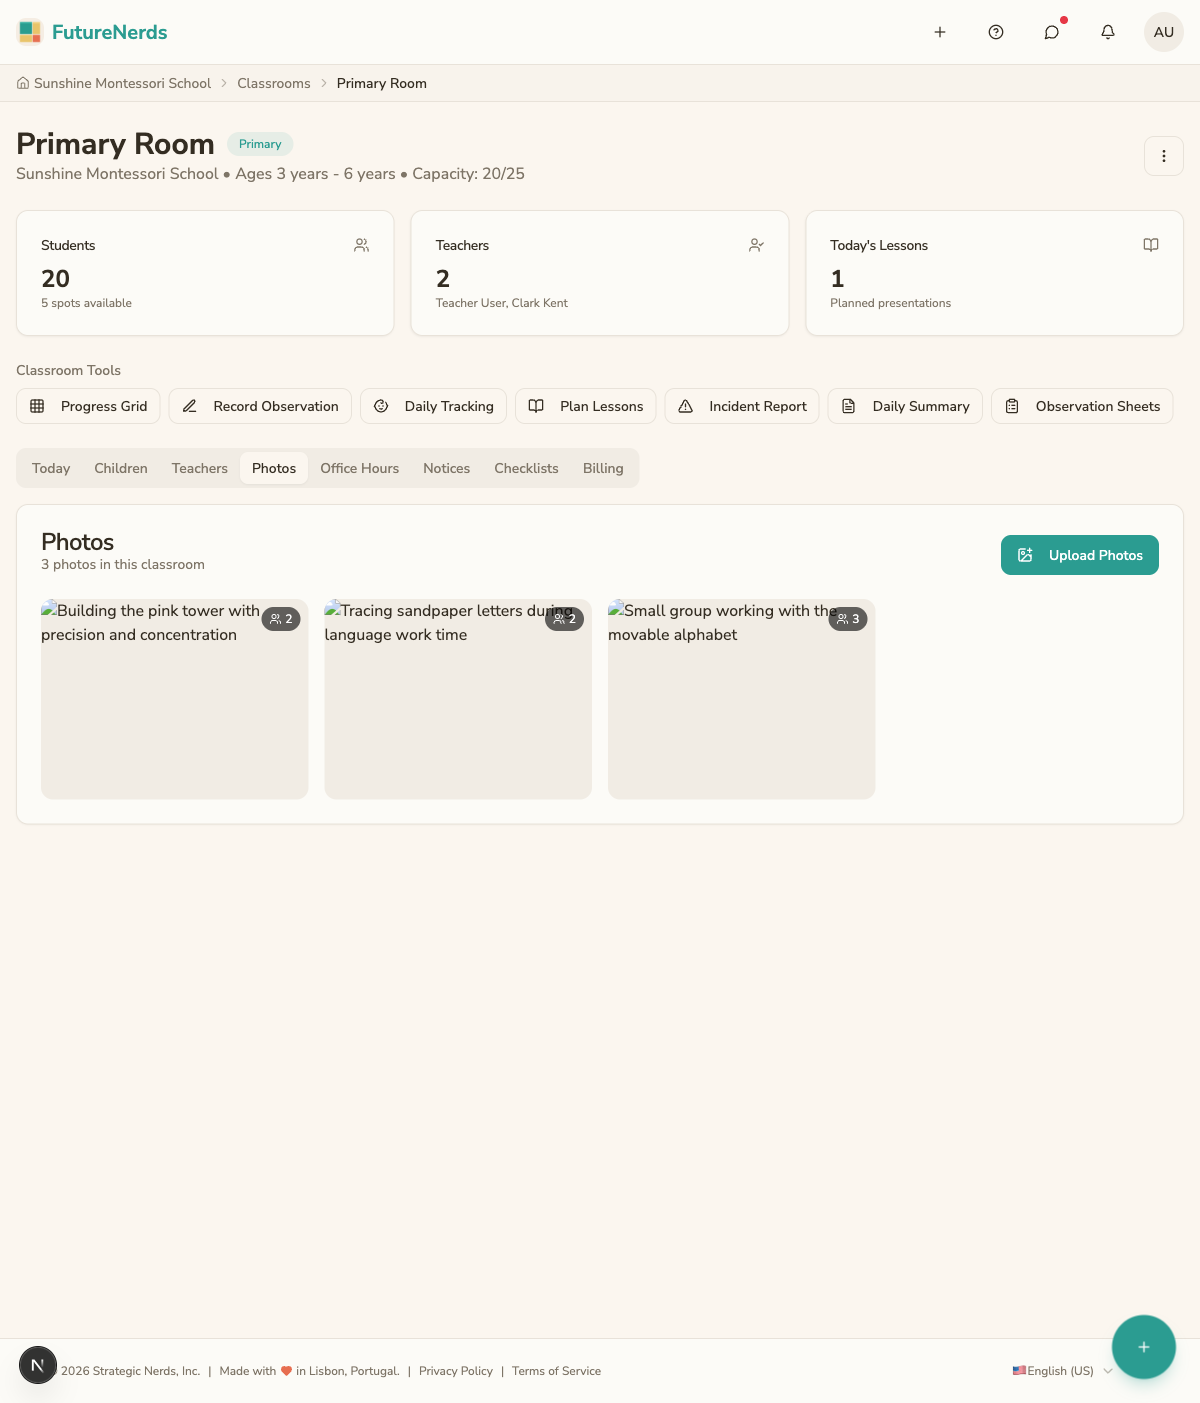
Open the Photos tab in your classroom and add photos from the day: children working with materials, a setup, a special event. Tag each photo with the children pictured and the competencies they were working on.
Tagged photos tie into progress tracking, and parents can view and download them from the child's Photos tab.
8. Post notices to families
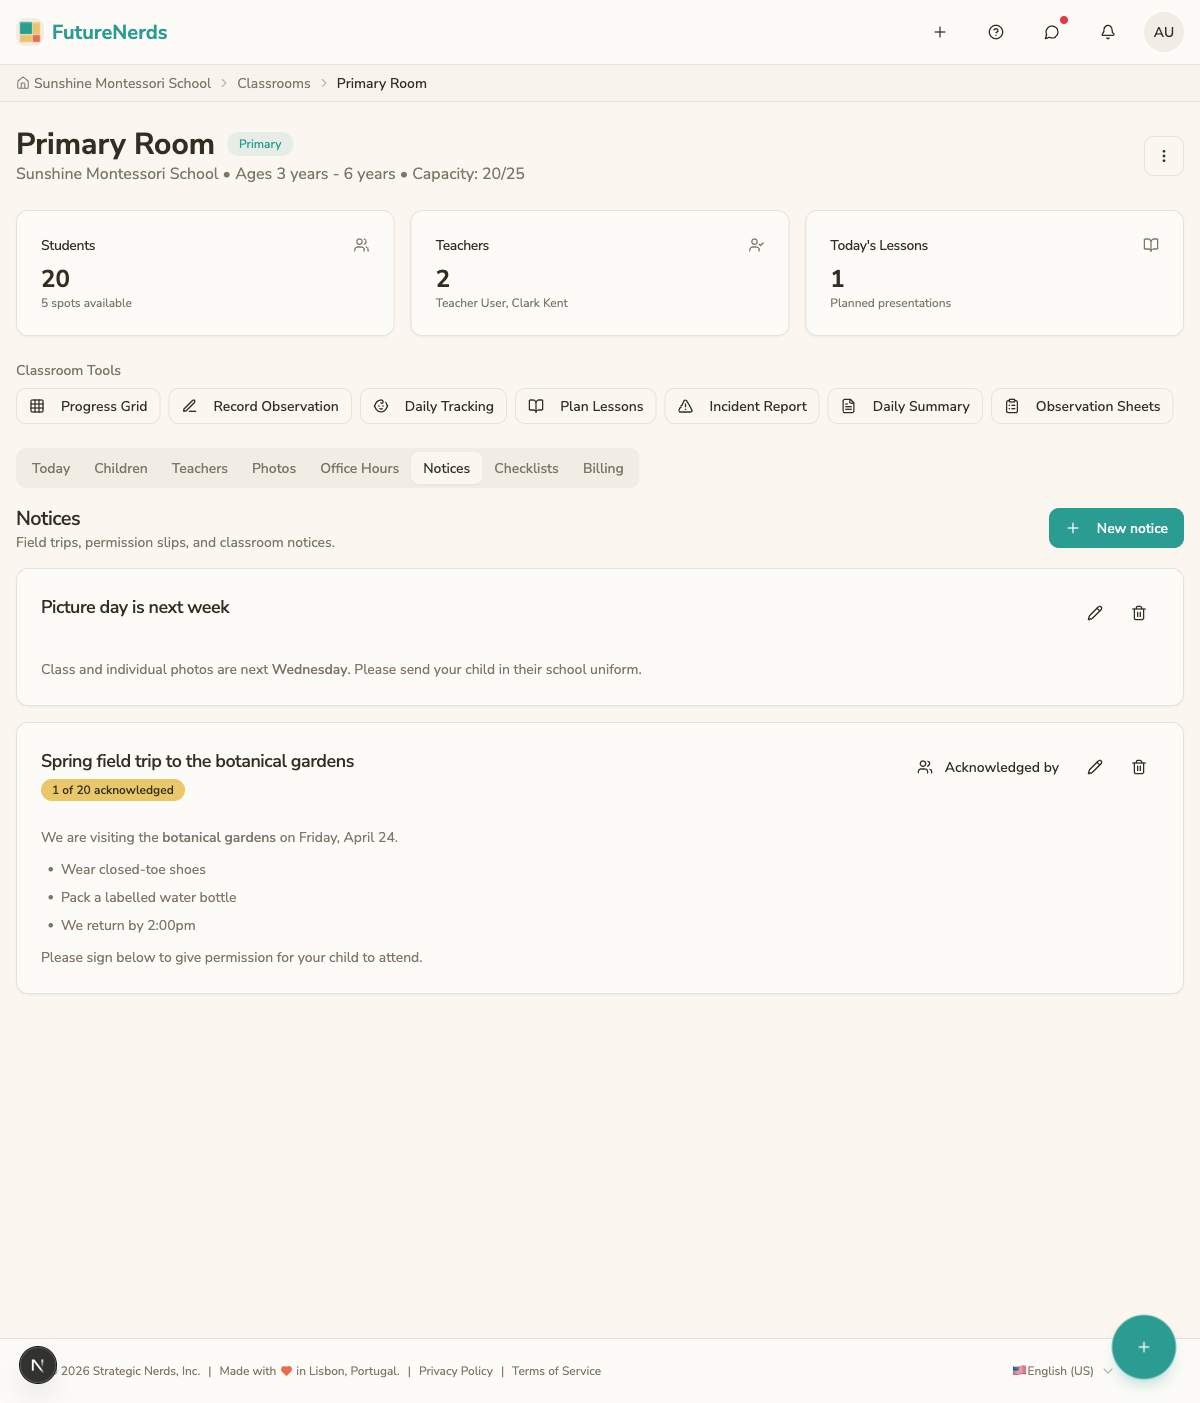
Open Posts from Today (under Manage), click Create Post, and click Publish Post. Set the visibility to your room, and the families in that room see it on Today.
Use a notice for one-way updates: a field trip reminder, a request for supplies, a weekly recap. Set an expiration so old notices clear themselves.
9. Message parents directly
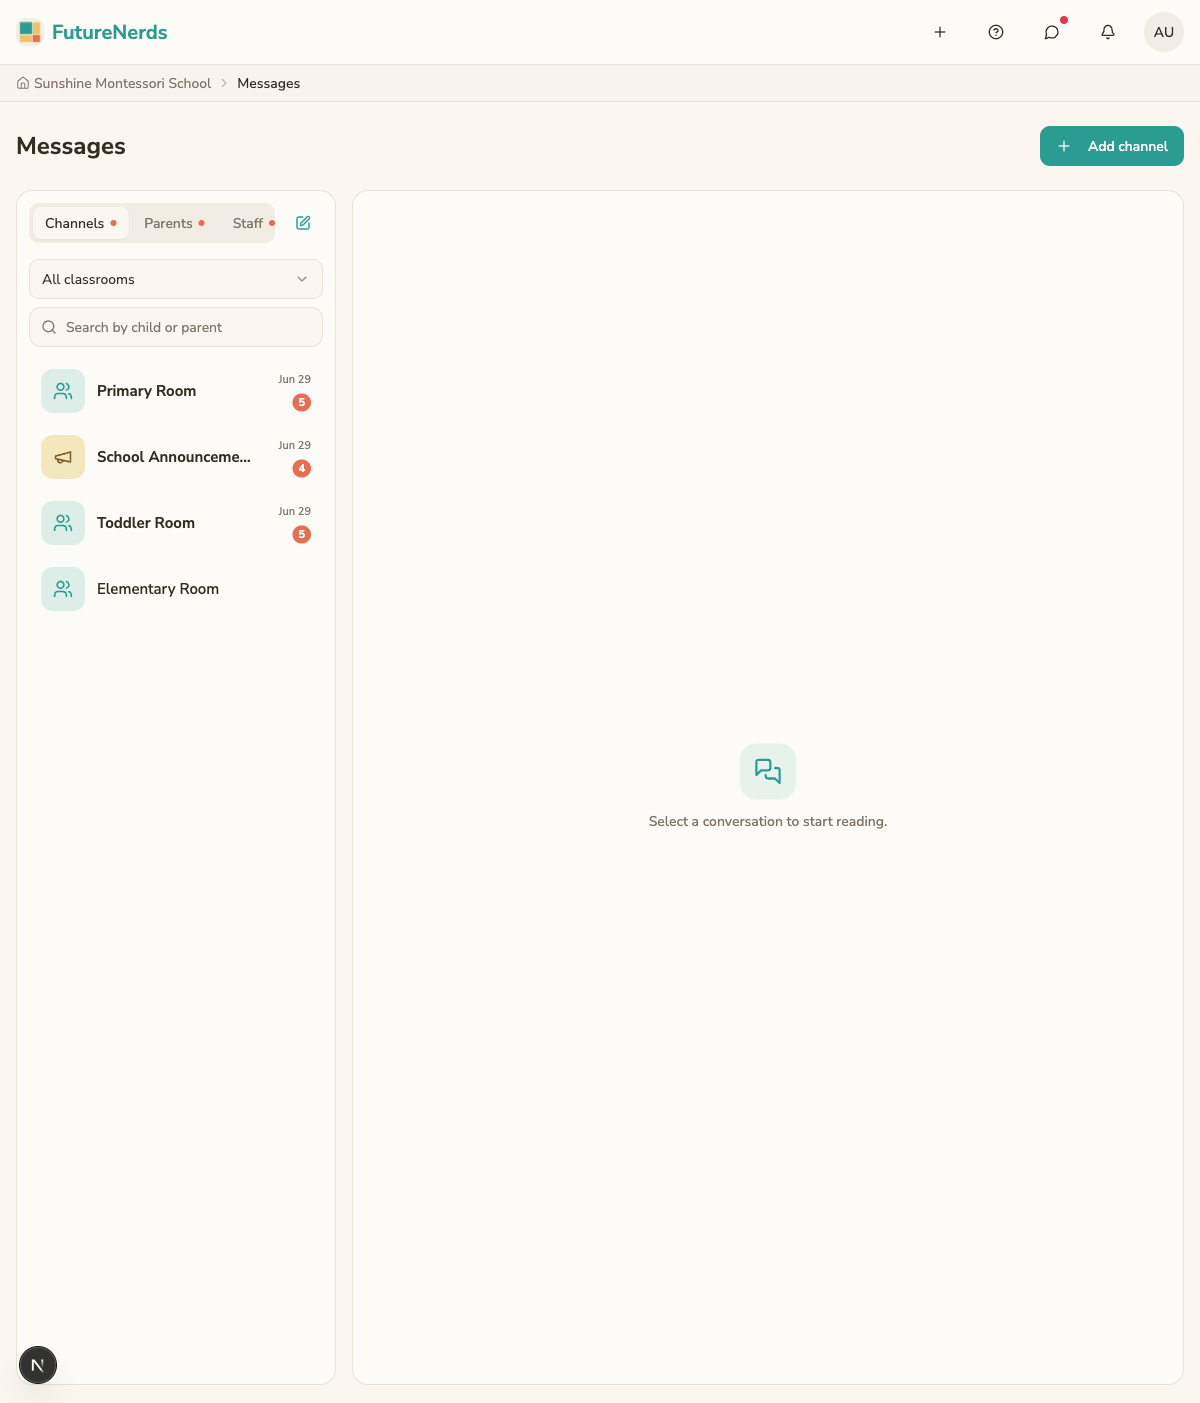
Open the messages icon. Messages has Channels (classroom and school boards) and Parents (direct family threads).
Use messages for the day-to-day questions and quick updates, and posts for the announcements that belong on Today.
That is the core of your week. From here it settles into a rhythm: plan and present, observe as you go, write the summary, and keep families in the loop. The rest of this help center covers each area in depth.
Was This Helpful?